
How do I exclude content from translation?
Please note that when implementing No Translate Rules, you may need to wait up to 10 minutes for the change to take effect on your live website due to caching.
Overview
Bablic provides multiple ways to control what does and does not get translated on your site. You can even hide original content from appearing on a translated page, or show content only on a translated page and not on the original source page.
There are three main ways to manage what should and shouldn't be translated on your site:
- Individual words and phrases are best managed using the Glossary.
- Entire pages and your site map as a whole are best managed using Scope.
- Content blocks and components that you wish to exclude from translation are best managed using a No Translate Rule, which we'll cover in this article.
No Translate Rules are implemented with a CSS class that can be added in-context on Bablic Studio. When implementing No Translate rules on Studio, you will not need any knowledge of CSS selectors.
Bablic Studio is only accessible from the Desktop app. If you haven't already, download the Desktop app from your User dropdown menu in the top right corner of the web platform.
Launching Exclusions Mode in Studio
To exclude a specific part or section of your site - the footer, for example - go to your Exclusions page under Project on the Bablic Desktop App.
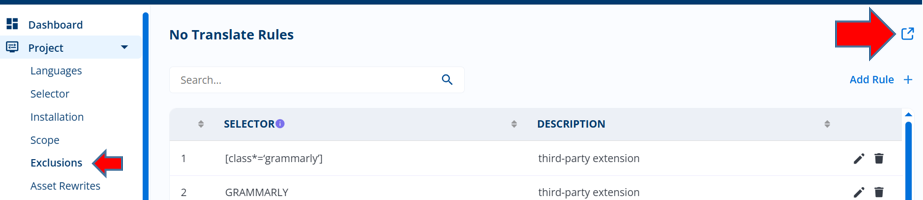
No Translate Rules must be applied to block-level CSS selectors, and this is most easily done in-context on Studio. On your Exclusions page, click the external link to Studio in the top right corner:
This action will launch Exclusions mode on Bablic Studio.
You will see your website displayed in the left hand pane in its original source language. You can freely navigate your site like a regular user or even hit specific URLs directly via the address bar. Your No Translate Rules control pane is on the right.
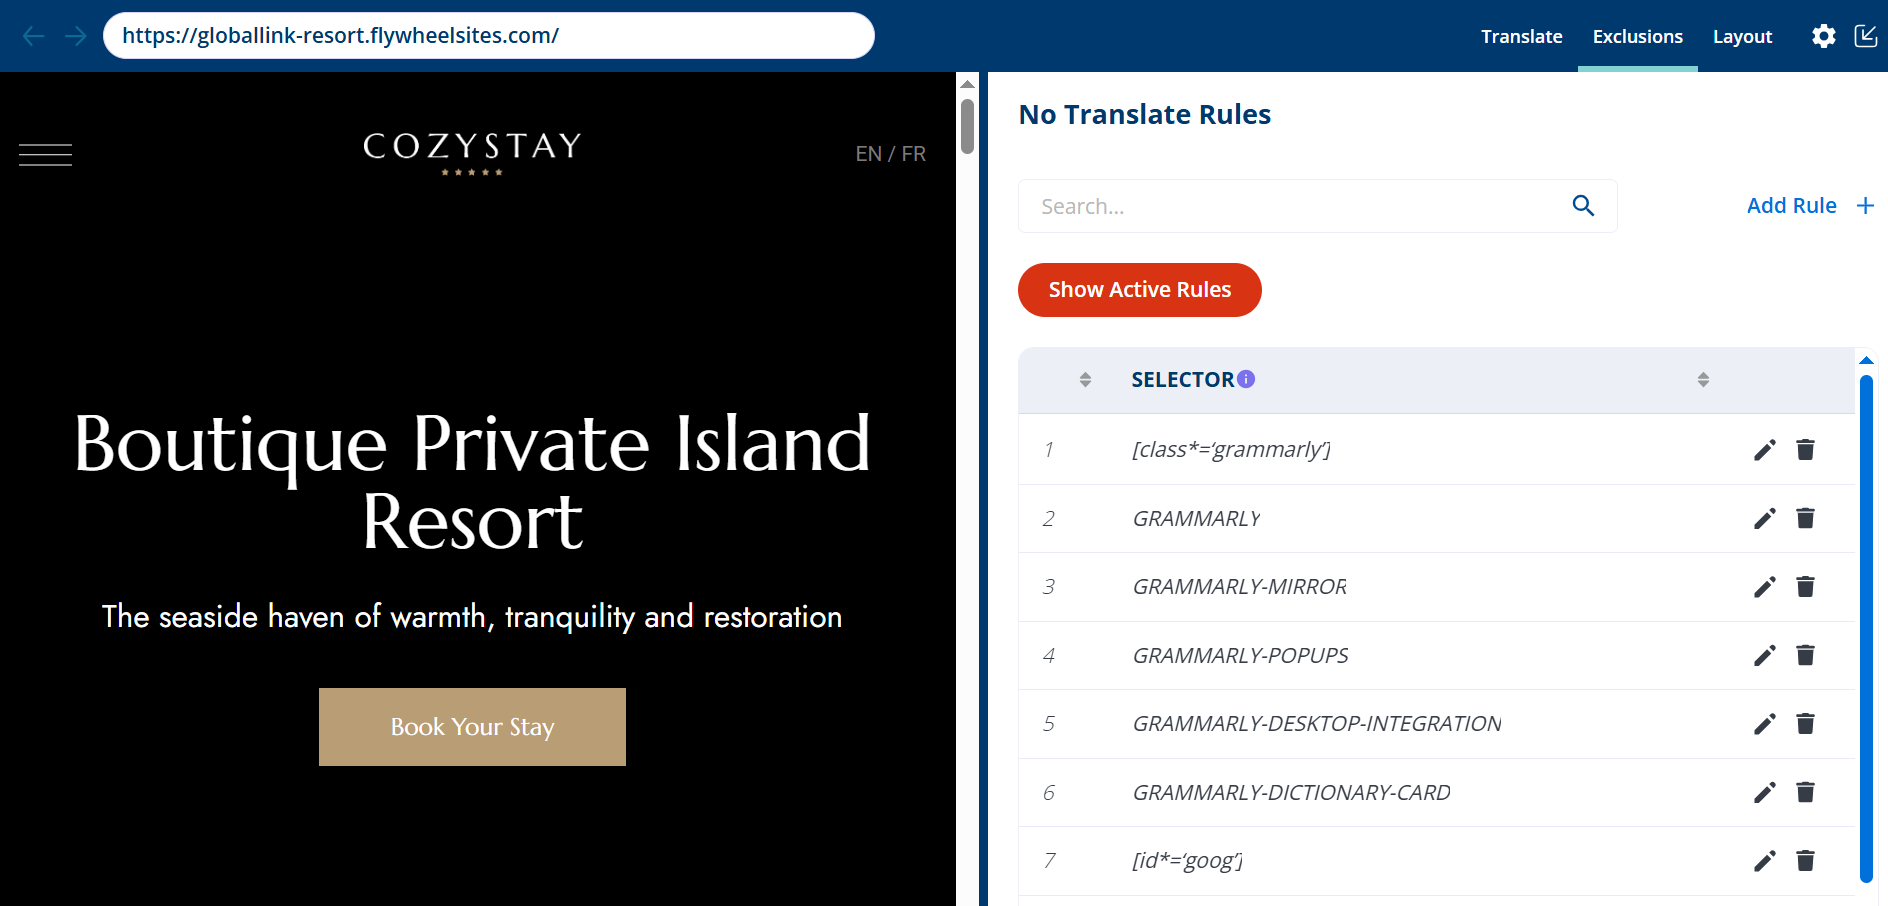
You can adjust the docking of the No Translate Rules pane from the gear icon in the top right corner of your Studio.
Adding No Translate Rules
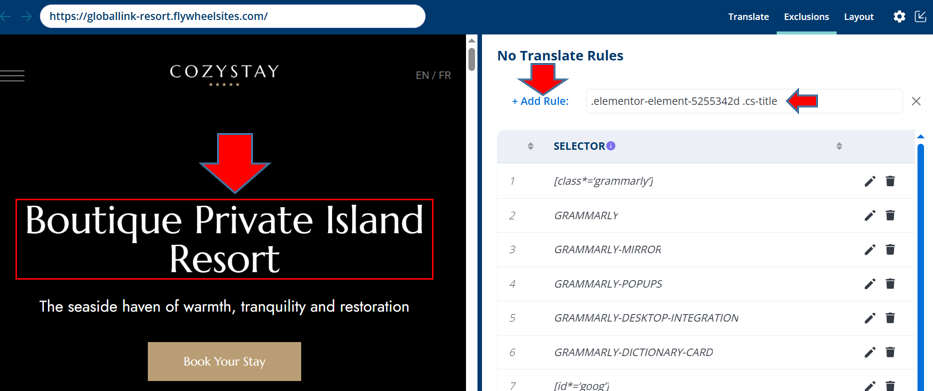
To add a No Translate Rule, right-click on the block or component on your webpage that you wish to protect from translation. The selector for this block or component will be automatically added to the right-hand pane. Now click the "+Add Rule" link to the left of the selector:
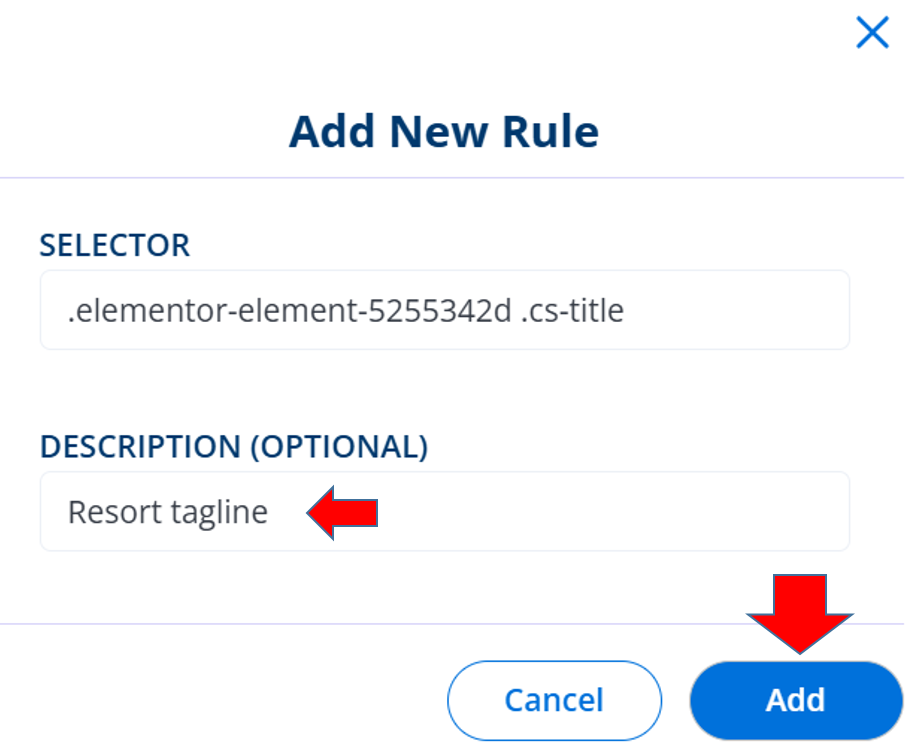
In the ensuing modal, you can optionally add a description for your rule. Click the blue "Add" button to finalize the rule.
The text you defined in your No Translate Rule will no longer translate on your website. When a user translates a page where your rule exists, that content will appear in the source language.
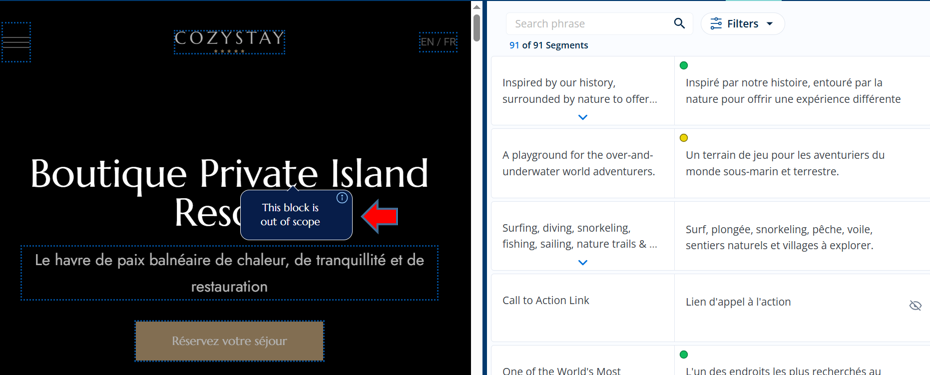
Any content marked with a No Translate Rule will be ineligible for translation edits in Translate Mode on Studio. When a linguist encounters a No Translate Rule during review, they will see it clearly marked as out of scope in the context of the page they are reviewing.
Any rules added to your project will be listed on your Exclusions page where they can be edited or deleted as needed.